
That dusty gray band above your tires can make a freshly washed vehicle still look unfinished. In Phoenix, wheel wells collect a steady mix of desert dust, road film, brake dust, mud after rain, and bits of dried grass or leaves. Learning how to clean wheel wells gives your car a cleaner, more complete look – and helps you spot loose liners, leaks, or packed debris before they become a bigger headache.
The good news is that this job does not require a garage full of detailing supplies. It does require the right order of operations. Start with water, use a cleaner that is safe for the area, and avoid treating every surface under the fender like it can handle aggressive scrubbing.
What You Need Before Cleaning Wheel Wells
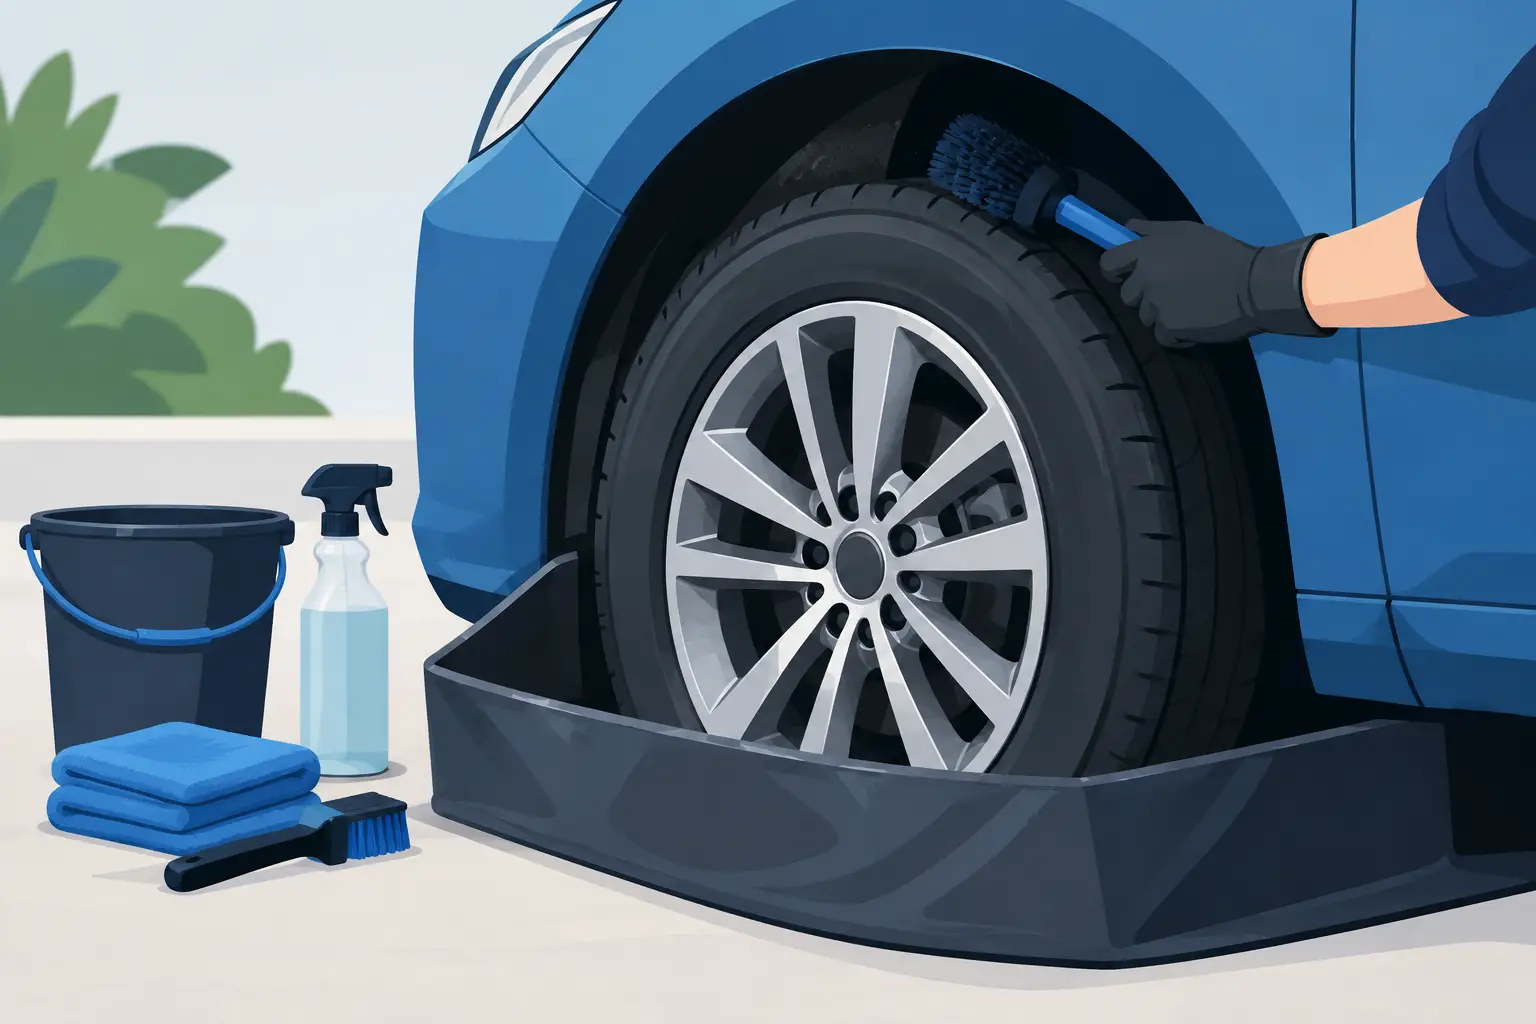
Most vehicles can be cleaned well with a hose or pressure washer, a wheel-and-tire cleaner or all-purpose cleaner labeled safe for exterior automotive surfaces, a dedicated wheel-well brush, and microfiber towels. A stiff long-handled brush can be useful for plastic liners, but it should not be your first choice around painted metal, exposed wiring, or delicate suspension components.
If you are working in direct Arizona sun, have your supplies ready before you start. Cleaners can dry quickly on hot surfaces, which makes them harder to rinse and can leave streaks. Early morning, late afternoon, or a shaded driveway is easier on both your vehicle and your time.
Wear gloves and eye protection, especially if you are spraying cleaner upward into the wheel well. Dirt and cleaner have a way of coming right back down.
How to Clean Wheel Wells Step by Step
Start With a Cool Vehicle
Do not begin right after a long drive. Tires, brakes, and nearby components can be hot enough to flash-dry product or make rinsing uncomfortable. Let the vehicle cool down first, then park on level ground and set the parking brake.
Turn the front wheels outward when cleaning the front wheel wells. That simple move gives you more room to rinse and brush behind the tire. For the rear, you may need to crouch lower, but there is usually enough access without removing a wheel.
Rinse Away the Loose Dirt First
Use a steady stream of water to flush out loose dust, mud, leaves, and gravel. Work from the top of the wheel well downward so the dirt falls out instead of getting pushed farther into corners.
A pressure washer can make this faster, but keep a reasonable distance. A narrow, high-pressure blast pointed directly at a loose wheel-well liner, rubber boot, sensor, or decal can cause problems. The goal is to rinse the grime away, not pressure-wash every part under your vehicle at point-blank range.
This first rinse matters more than people think. Scrubbing a dry, gritty wheel well can drag abrasive dirt across painted edges and plastic trim.
Apply Cleaner to the Liner and Lower Panels
Spray your cleaner onto the wheel-well liner, inner fender area, and the visibly dirty lower body panels around the opening. Follow the product directions, especially for dilution and dwell time. More chemical is not always better, and letting cleaner dry is rarely helpful.
For normal dust and road film, a mild all-purpose cleaner is usually enough. For thick greasy buildup or caked-on mud, you may need a stronger product and a second pass. Avoid using harsh acidic wheel cleaner in the wheel well unless the label specifically says it is safe for those surfaces. Wheel wells contain a mix of plastic, rubber, painted metal, and hardware, so a product that is great for bare wheels may not be the best choice everywhere else.
Agitate Gently, Then Reach the Edges
Use a dedicated brush to loosen the film on the plastic liner. Work in short sections, starting near the top and moving down. Pay attention to the lip of the fender, the area behind the tire, and the seams where dirt tends to settle.
Use lighter pressure around painted surfaces. If you see body-color paint inside the wheel opening, switch to a soft detailing brush or microfiber mitt rather than a stiff wheel-well brush. The same goes for rubber boots, wiring, and clips. They need a rinse, not aggressive scrubbing.
Stubborn spots may need a second application. That is normal. Trying to force every stain off in one pass is how people scuff plastic liners or waste time chasing discoloration that will not change.
Rinse Thoroughly and Check Your Work
Rinse from top to bottom until the water runs clear and there is no cleaner left in seams or around the liner. Look behind the tire and along the outer fender edge before moving on. This is also a good time to remove leaves, small rocks, or packed mud by hand.
If the wheel well is still dark with embedded staining after rinsing, distinguish between dirt and wear. Many older plastic liners fade or permanently discolor from heat and road use. Cleaning can remove grime, but it cannot always restore the original deep-black finish.
Dry the Painted Edges and Tires
You do not need to towel-dry every inch inside the wheel well. Letting the liner air-dry is fine. However, wipe the painted fender edge, door jamb area, and wheel face so water spots do not spoil the rest of the wash.
If you use a tire dressing, apply it only to a clean, dry tire sidewall. Do not spray dressing into the wheel well or onto the tread. Overspray attracts dust, can sling onto the paint, and does not make the vehicle safer or cleaner.
Common Wheel-Well Cleaning Mistakes
The fastest way to turn a simple cleanup into extra work is using the wrong approach. Avoid these four common mistakes:
- Cleaning hot wheels, brakes, or body panels, which can make products dry too fast.
- Using one brush for wheels, wheel wells, and painted body panels. Keep those tools separate.
- Blasting close-range pressure directly at sensors, loose liners, rubber boots, and electrical connections.
- Applying greasy shine products inside the wheel well, where they collect fresh dust almost immediately.
Another mistake is assuming every dark mark is dirt. Road tar, old undercoating, faded plastic, and staining from years of driving may remain even after a careful cleaning. A clean wheel well should look free of loose grime and buildup. It does not need to look like it just left the factory to make a real difference.
How Often Should You Clean Wheel Wells in Phoenix?
For most Phoenix drivers, cleaning wheel wells every two to four weeks keeps buildup manageable. If you regularly drive dirt roads, park near construction, take trips out of town, or get caught in monsoon rain, clean them sooner. Mud and wet debris are easier to remove before they dry into a hard layer.
A regular express wash is a smart way to stay ahead of the dust on your paint, wheels, and tires. Still, wheel wells can hold onto grime because they sit behind the tire and out of direct sight. Use the wash as your routine reset, then give the wheel wells a focused rinse and brush when you notice buildup.
At Bubble Express Car Wash, the finishing area makes it easier to handle the details that make a car look truly clean. Strong vacuums, air guns, towels, and spray bottles help you finish the job without turning your driveway into a full-day project.
When a Wheel Well Needs More Than Cleaning
While you are down there, take a quick look for anything that does not belong. A hanging wheel-well liner, exposed fastener, fresh oily residue, torn rubber boot, or repeated rubbing mark on the tire deserves attention. Cleaning does not replace an inspection, but it can make these issues easier to notice.
If a liner is loose, do not ignore it. It can rub against the tire, trap debris, or come free at highway speed. If you see a leak or damaged component, a qualified mechanic should take it from there.
Keep the process simple: rinse first, use the mildest cleaner that gets the job done, brush carefully, and rinse again. A few extra minutes around each tire can make the whole vehicle look better every time you pull away.