
Phoenix dust has a way of finding every seam in your car. Add kid snacks, pet hair, gravel from the driveway, and daily commuting, and your seats can look dirty again fast. Knowing how to vacuum vehicle seats properly helps you get more than a quick surface clean. A few extra minutes can pull out the grit hiding under cushions, along stitching, and around seat tracks.
A good vacuum job is not about making a few fast passes over the middle of the seat. It is about working in an order that keeps dirt from moving back onto areas you already cleaned. Whether you are using a home vacuum, a shop vacuum, or the stronger vacuums at a car wash, this process gives your interior a cleaner, more finished look.
Start With the Right Setup
Park somewhere with enough room to fully open the doors. Good light matters, especially when you are trying to spot pale desert dust on light upholstery or crumbs in dark carpeting. If you are at a vacuum station, pull in close enough that the hose reaches all four seating positions without stretching it across the vehicle.
Remove loose items first. Take out floor mats, trash, water bottles, car seats if practical, and anything stored under the seats. Check the seat-back pockets, center console area, and the space between the seat and center console. Those spots collect receipts, wrappers, coins, and enough crumbs to make vacuuming harder than it needs to be.
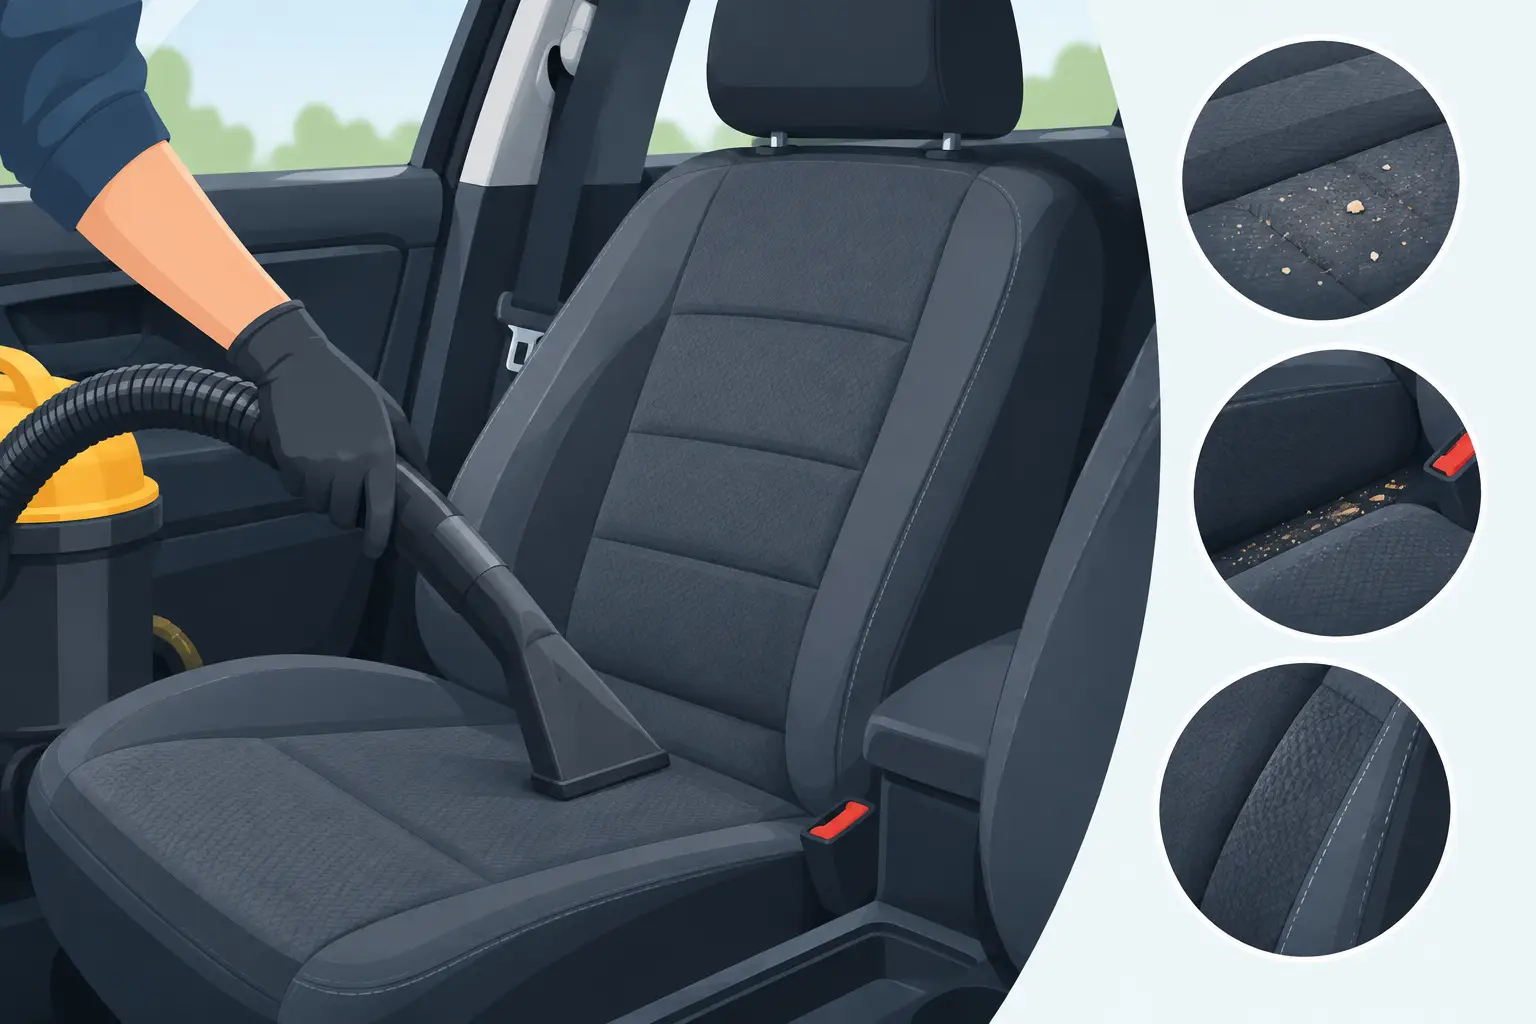
Use a crevice tool if one is available. The wide vacuum nozzle is useful for open seat cushions, but it cannot reach the narrow gaps where most debris settles. A soft brush attachment is also helpful for cloth seats because it loosens dust without grinding it deeper into the fabric.
How to Vacuum Vehicle Seats Step by Step
Move the seat before you start
Slide the front seat all the way back first. This gives you room to vacuum the front edge of the cushion, the floor underneath, and the seat rails. Then slide it all the way forward before finishing the rear area and the space behind it.
For power seats, move slowly and keep the vacuum hose away from switches, wiring, and tracks. If you find a small object lodged near the rails, pick it up by hand instead of forcing a large nozzle into the area.
Vacuum from the top down
Begin with the headrest and upper seat back, then work down to the seat cushion and lower edges. This simple order lets loosened dust fall to an area you have not cleaned yet. Use slow, overlapping passes instead of sweeping quickly over the fabric.
On cloth seats, vacuum in more than one direction. Fabric fibers can hold dust and pet hair differently depending on the direction of the weave. A few passes front to back, followed by side to side, usually remove more than one fast pass ever will.
For leather, vinyl, or synthetic leather seats, use a soft brush attachment or a clean narrow nozzle. Avoid dragging a hard plastic tool across the surface, especially if it has picked up grit. Vacuuming removes loose dirt, but it is not a replacement for wiping and conditioning the material with products made for that surface.
Work the seams, stitching, and bolsters
The middle of a seat is the easy part. The seams are where dirt stays put. Run the crevice tool carefully along the stitching, between the seat back and cushion, around the side bolsters, and near buckle receivers.
Do not press the nozzle so hard that you pull at stitching or push debris farther into a tight crease. Let the vacuum do the work. If a crumb or small pebble is wedged in place, gently tap the seat beside it with your hand or use a soft interior brush to free it.
Vacuum under and behind the seats
This is the step people skip, and it is usually where the biggest payoff is. Move the seat to expose as much floor as possible. Vacuum the carpet under the seat, around the rails, and the area where the rear passengers’ feet rest.
Look for loose cables, seat components, and air vents under the seat before bringing the nozzle close. Many vehicles have wiring there, so use a controlled hand and avoid snagging anything. A crevice tool is usually the best choice for this area.
Finish the seat belts and buckles
Pull each seat belt out enough to inspect it for dust and crumbs near the lower anchor point. Vacuum around the buckle and the opening where the belt retracts, but do not place the nozzle inside the retractor mechanism. If the belt itself is dusty, wipe it gently with a clean microfiber towel and let it dry fully before retracting it.
Getting Pet Hair and Stubborn Debris Out
Pet hair is different from regular dust. It clings to cloth fibers and often will not lift with vacuum suction alone. Start by vacuuming slowly, then use a rubber pet-hair brush, rubber glove, or dry squeegee to gather the hair into small clumps. Vacuum those clumps up afterward.
For packed-in dirt, lightly brush the fabric before vacuuming again. Do not soak the seat with water or cleaner just to make vacuuming easier. Too much moisture can leave an odor, create water marks, or make the seat take a long time to dry in the Arizona heat.
If you find gum, melted candy, or a mystery spill, vacuum around it first. Then treat the spot based on the seat material. Vacuuming is part of interior care, but it cannot remove sticky residue or stains by itself. Trying to scrape aggressively can damage fabric, leather, or trim.
Do Not Forget the Rear Seats
Back seats often collect more debris than front seats, especially in family vehicles. Fold them down if your vehicle allows it and vacuum the crease between the seat bottom and seat back. Check the outer edges near the doors, where sand and small rocks get tracked in during school drop-offs, errands, and weekend trips.
If you use child seats, vacuum before reinstalling them and check the area underneath. Crumbs can build up there quickly. Follow the child seat manufacturer’s instructions when removing and reinstalling it, and make sure it is secured correctly before driving.
How Often Should You Vacuum Your Seats?
For most Phoenix drivers, a quick vacuum every two to four weeks keeps dust and everyday debris from becoming a bigger job. Families with young kids, pet owners, rideshare drivers, and people who spend a lot of time on job sites may need to vacuum weekly.
A deeper vacuum is worth doing after a road trip, a camping weekend, a dusty construction area, or any time you notice dirt collecting in seams and under the seats. Regular attention also makes it easier to keep the rest of the interior looking clean. When the seats are free of grit, wiping the dash, console, and door panels feels like the finishing touch instead of another major chore.
At Bubble Express Car Wash, the goal of a vacuum stop is simple: give you the tools to actually clean your car, not just make it look better from the outside. Use the air guns for tight creases, follow with a strong vacuum, and take a minute to check under the seats before you pull away.
A clean seat changes how the whole vehicle feels. Start at the top, work slowly into the seams, and do not leave the under-seat area for next time. Your next drive will feel better before you even turn the key.